Showing: 1 - 4 of 4 RESULTS

chalkboard paint pantry doors

I’ve been working on lots of little projects over the last few months, more like the last year to be quite honest. I haven’t been doing the best job of documenting them either. Time is precious and our days are FULL around here. Plus, I have dreams of a fancy camera. You know, something expensive and heavy that will capture my little creations in all their beauty. But let’s be honest here…that may never happen. So, this morning I got out my cell phone and started snapping some photos to clear my mind a little. Here we go!

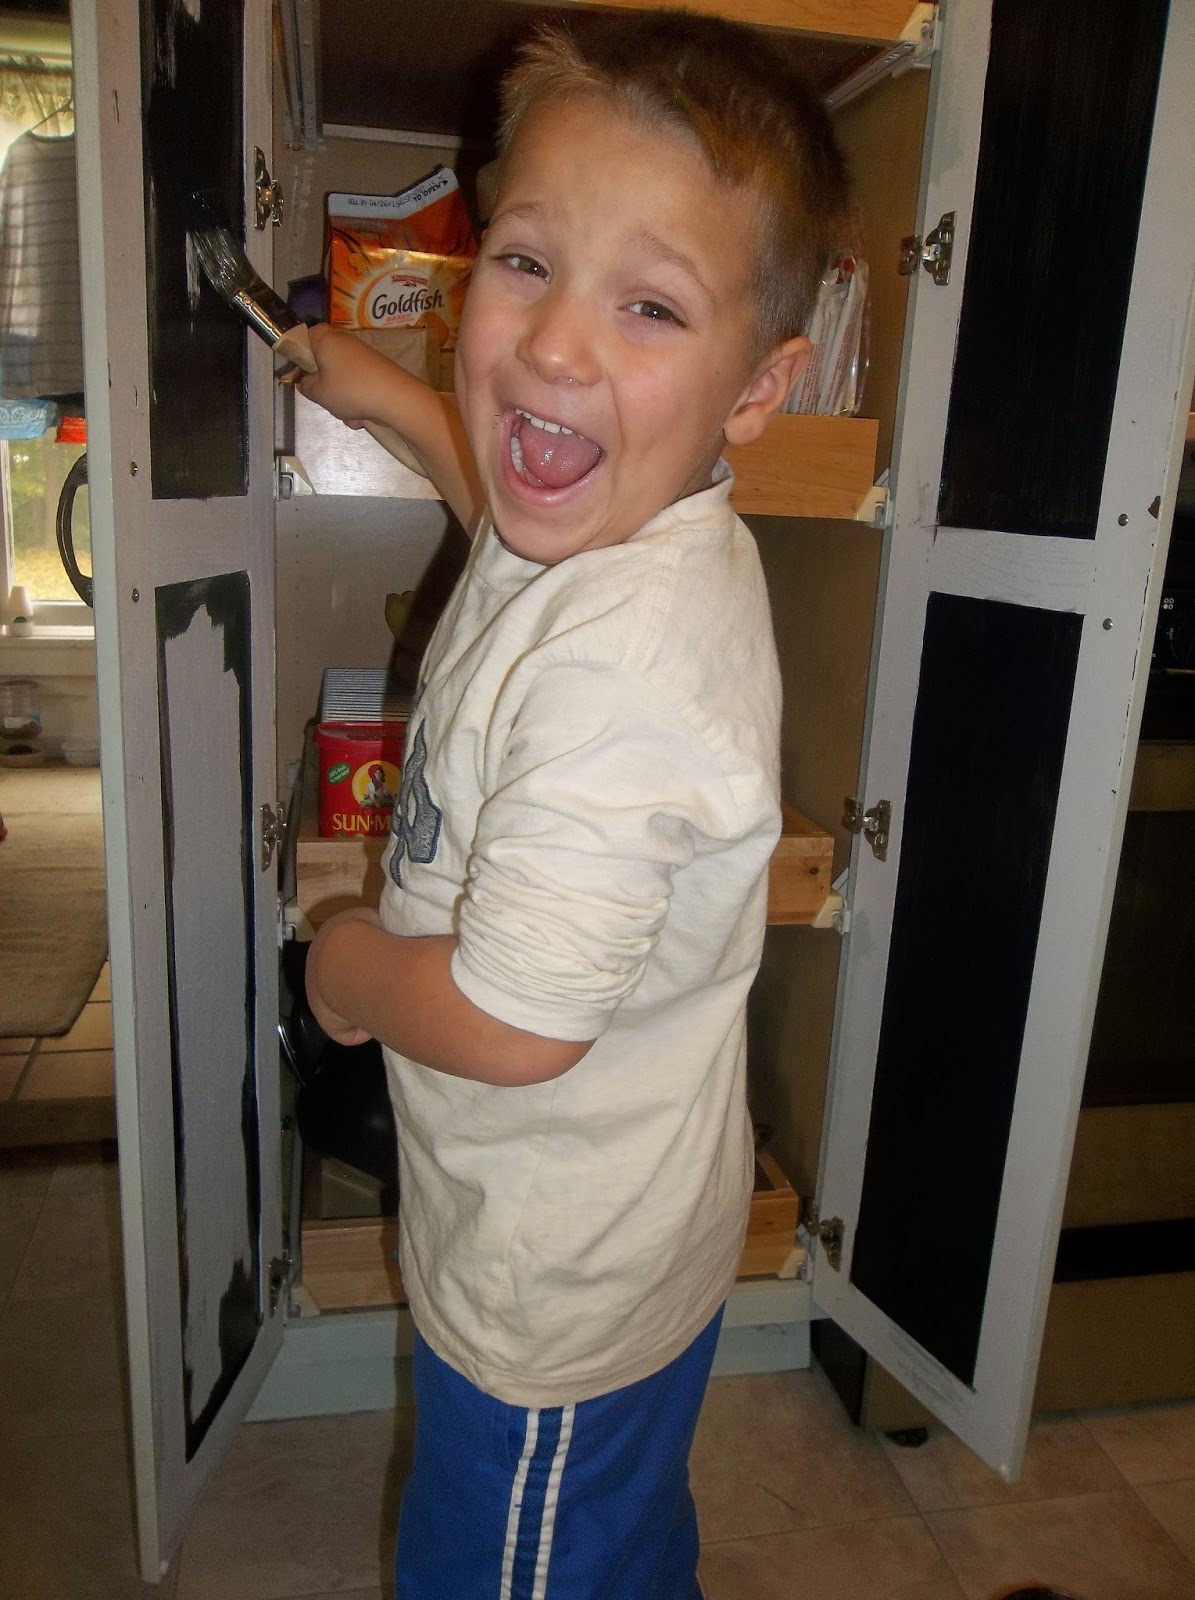
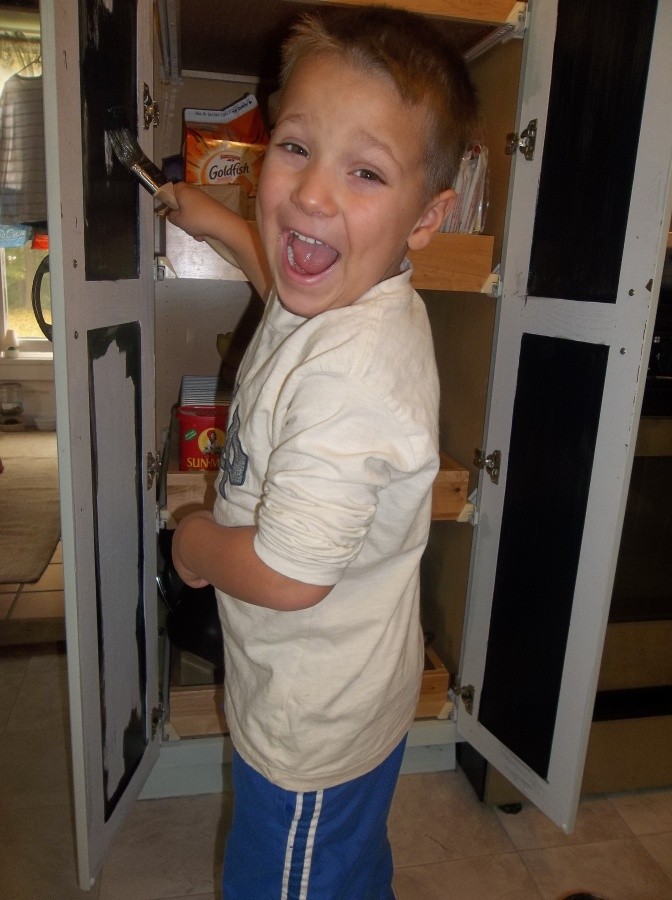
This little project happened on a whim one morning. I couldn’t find the grocery list I had started and was racking my brain staring into the pantry. I decided it would be nice to have a spot near our pantry for notes and lists…for myself and my hubby. But it had to be something I couldn’t lose…and notebooks and papers get strung all over this place by my kids. So I got out the ol’ chalkboard paint and let Rigby have at it! And I’m so loving this. It’s the little things in life 🙂 And I find myself standing in front of my pantry regularly, just staring at it…lol…and thinking of everything I’m missing. Now my space out sessions are productive!

We’re using one side for our grocery list and one for our menu…and the rest gives the kids a spot to doodle. So fun! I just snap a picture on my phone of the list before I head to the store. 

{Easy peasey}

It’s actually working out pretty well. Except for the time or two that I forgot to take a pic before I left. But I just called home and asked someone else to text it to me. Yep…no more lost lists around here! 

I will say that the chalkboard markers have proved to be a challenge. They’re hard to erase completely on chalkboard “painted” surfaces. I’ve found that using an antibacterial wipe and a little elbow grease gets the job done. It’s no bother really…especially since I’m only doing it once a week.

before – a blank canvas
after – our weekly “menu” board
after – our weekly grocery list
my little picaso


Fireplace

cottage style kitchen & great room – before & after

I’m finally posting some before and after photos from the cottage style kitchen and great room renovation we did. The project really turned out beautifully! Our client purchased this home years prior near the beach and had always envisioned transforming the 80’s style decor/layout into an open concept cottage style interior. Our client also loves to cook, so the function and layout of the kitchen played a major role in the new plan. 

We were so glad she chose us to help bring her dreams to reality!

Existing Plan:

existing plan

Conceptual Plans:

Kitchen:

The existing kitchen was somewhat dark and closed off (see photo below). The photo on the left shows a wall behind a peninsula island; we completely removed that wall to open up the kitchen to the dining and living area beyond during the renovation.


A lot of older homes like this have little nooks and crannies 
that become seemingly useless space over time. In this renovation, we made sure to take advantage of every bit of the interior… transforming those wasted areas into useful, functional space! 

In the photo below, you’ll see a bay window that faces a beautiful wooded back yard. Unfortunately no one ever really used that window… even the loveseat faces away from the view!

We ended up replacing those tall windows with shorter above counter windows and locating the kitchen sink there to take full advantage of the view. I know it sounds “sad” to remove those tall windows…but I assure you the extra 12″ of glass did no good if no one used them!
Great Room:
The living and dining areas of this home also needed some major updating. Take a look at the existing rounded drywall fireplace mantle below…very unique to say the least!

Living Room after – what a transformation!

Dining Room:

To help define the dining area, we added a chandelier above the table, wainscoting, and the homeowner also purchased a rug. We also added decorative beams to the vaulted ceiling above, and by placing one central to the table, we were able to hide wiring for the chandelier.

Dining before – the wall to the left behind the china cabinet was a shared wall with the kitchen. This wall was removed and a bar peninsula was added.

Dining Room after!

The main foyer of the home also needed updating.

I love how it turned out!

cottage style: kitchen & great room remodel

We just completed construction on phase one of living room and kitchen remodel project! To give you some background, our client bought an early 90’s style home in a great location (Ogden Dunes…yep, near the beach!), always dreaming of updating the interior but having a hard time getting things moving. She was open to just about anything…which was very exciting for us.

They wanted to open up their existing kitchen (see image below) which was small, closed off and a little awkard.  They also wanted update their living room fireplace and foyer area.  She had a picture cut out of a magazine she had been carrying around for awhile which showed the style she was looking for.  It was a modern cottage/beach style interior…which we totally loved as well.  It was very fitting for the area they lived in and since their home had great “bones”, we really had a lot to work with.


existing kitchen…not a lot of counter spaceand very closed off
existing kitchen bay window…wasted space and not really used


existing living room…nice cathedral clgs and large windowsbut not a lot of character at this point
check out this curved fireplace mantle…made of drywall!
existing foyer and stair
existing foyer light


Design Concept:


Floor Plan


Rendered PerspectiveEntry view from Foyer to new stone fireplace


Rendered PerspectiveView from Fireplace to new open kitchen bar


Rendered PerspectiveEntry into Kitchen with island and coffered wood ceiling
Rendered PerspectiveView from Kitchen bar to Great Room

 Finished Great Room (Phase 1)

Finished Great RoomLook at those beautiful wood floorsand the the new fireplace w/built-ins!
Updated FoyerNew wood treads on stairs, woodwainscoting and chandelier

kitchen & living remodel – conceptual designs

This summer we completed a conceptual design for a kitchen and living remodel.  Our client was originally just asking for help with paint colors…and of course I had to laugh!  Not that we couldn’t help with just colors (we do that from time to time), but we could do so much more!  I really just wanted to get a feel for what she really wanted for the space…what she loved about her home, what she didn’t love, and ultimately what sort of design aesthetic she was attracted to.

          Design Concept:

repaint existing oak kitchen cabinets black

paint all existing cabinet pulls silver

repaint all wood trim white

install wood flooring thru-out

add a white wood wainscot with a chalkboard wall

built-in shelf for coffee display

install a tile backsplash

add a drum pendant light over kitchen table

a rug to “ground” the table

add a furniture style island with pendant lighting

(there is so much wasted space in the middle of the kitchen)

remove all existing drapery and install white blinds

remove all wood chairrail and wall covering borders and repaint walls

add white wood bookcases on both sides of fireplace

install track lighting to accent photography in specific locations

keep existing lamps, just replace the shades

add a shag rug to living room

buy one accent chair for reading in living room

and finally, a paint scheme of dark gray, tan, white, yellow and coral

Well, at first she was a little shell-shocked at all of the ideas…especially since she was just asking for paint colors. But she was also very much in love with all the ideas and the possibility that her home could actually be something better than she ever imagined! She also didn’t think her husband would ever get on board…especially with the idea of painting the kitchen cabinets.

A few days later she called me from the paint store and they were already buying the paint! I think in the end her husband really came around because we were able to visually show him our intent thru our conceptual designs and images.  And if you look back at our design concept, there isn’t a whole lot of new and expensive items…besides the built-in bookcases, wood floors, and painting the cabinets.  I don’t think they ever went thru with the wood floors either.  But the rest was enough to completely change their space anyway!

Conceptual Drawings:

Floor Plan Design Concept
Rendered Perspective of Kitchen & Living Room
Rendered View of Kitchen Entry to Living Room
Rendered View of Living Room Client Viewing Wall
Rendered View of Fireplace with Built-ins
Rendered View of Chalkboard / Wainscot Wall
Rendered View of Kitchen with Island

Before and After Photos:

existing oak cabinetry
painted cabinets!

no wall paint, backsplash or cabinet pulls just yet


close up of painted cabinets with pulls…looking good!
existing wood and brass cabinet pull…eeek
silver spray painted cabinet pull!
wood wainscot under way
chalkboard wall